Long ago, people were more than pleased with slices of bread that were unevenly toasted. Today, however, everyone is picky about the nature of his or her toasties, to say the least.
Some individuals love theirs barely heat kissed, whereas others prefer theirs toasted to the edge of carbonization. And thanks to the best modern toasters, both results are easy to attain.
That said, after using your masterpiece to crisp up English muffins, bagels, and artisan bread slices for weeks on end, you will realize that it deserves a session of thorough cleaning. And even if you regularly empty the removable crumb tray, chances are there is still a collection of morsels stuck deep within your toaster – getting more toasted and crispier after each use.
Failure to get rid of this dirt could easily attract rodents, or worse, result in becoming a fire hazard.
Lucky for you, it doesn’t take a lot of time to give your favorite kitchen appliance a thorough cleaning from time to time, and a comprehensive cleaning will get rid of ay burnt toast smell while at the same time ensuring that your toaster will keep working at optimum condition.
With those cleaning perks in mind, remember that getting rid of dirt and crumbs from a toaster oven can be a messy procedure, so I recommend that you clean your appliance over the sink or a trash can to avoid making a mess that’ll be hard to clean from your kitchen counter.
Things you will need
- A trash can
- Damp dish towel
- Dry dish towel
- Cheap paint brush or small pastry brush
- Vinegar
- Warm, soapy water
If you cannot find a brush, then simply wrap your tablecloth (or something similar) around a pencil and use it instead of the brush.
Once you’ve assembled everything required to clean your toaster or toaster oven, here are the instructions you have to follow, and before you know it, you won’t be able to look away from your sparkling clean toaster.
You only need 10 to 15 minutes to do this.

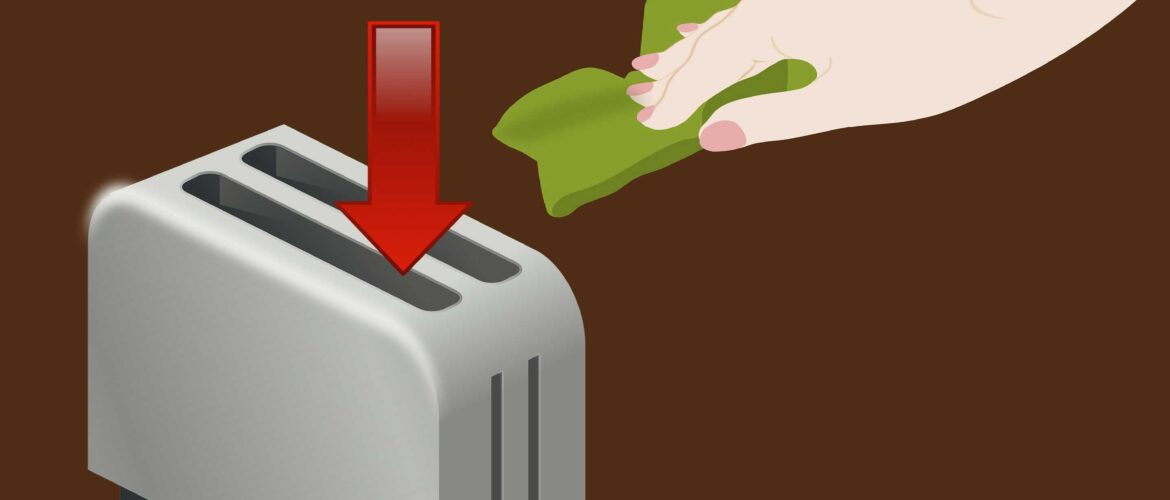
Step 1: Unplug the device & let it cool off
I know unplugging your toaster sounds obvious, but you’d be surprised. And this doesn’t apply to toasters alone. Before cleaning any plug-in appliance in your kitchen, ensure its unplugged, lest you run the risk of an electrical shock.
After unplugging, choose where you’ll carry out the cleaning (either in the sink or over a trash can) and if you have just used the toaster, let it sit for a while so it can cool off. Do not skip this step even if your toaster oven model is the best toaster with cool to the touch exteriors.
The heating elements take some time to cool off, so give them that.
Step 2: Clean the removable crumb tray
If you’re using the best regular toaster, chances are that it’s fitted with a time-saving part known as a removable crumb tray. The tool is located at the bottom side of your toaster and its use is to catch the majority of the debris and crumbs that fall off your bread and bagel slices during toasting.
Toasters equipped with removable crumb trays also retail with release buttons for the trays. Press it and the tray will slide out.
Once you removed it, dump all its contents into your garbage or down your sink. You will also need to hand wash and rinse the tray to ensure that you’ve gotten rid of any caked debris and food residue. When you’re done thoroughly cleaning it, set it aside to dry while you can work on cleaning the inside of your toaster.
Step 3: Give your toaster a good shake
Chances are, while taking out your toaster’s removable crumb tray, some dirt and debris remained lodged inside your toaster. What’s more? If your toaster model did not come with a removable crumb tray, you will also need to use this traditional cleaning method of turning it upside down and shaking it carefully to dislodge the crumbs.
If you realize that some of the crumbs are being stuck, take the small brush we mentioned at the beginning and start wiping the inner corners of your toaster where crumbs have likely gathered together. Also, make sure that you’re careful so you don’t dent or destroy the heating elements.
In case none of your brushes can fit in there, feel free to acquire a special toaster cleaning brush. The good thing is you will need it many times in the future.
Once you’ve loosened all the particles inside your toaster, pour them in the sink or trash can.

Step 4: Clean the exterior surface
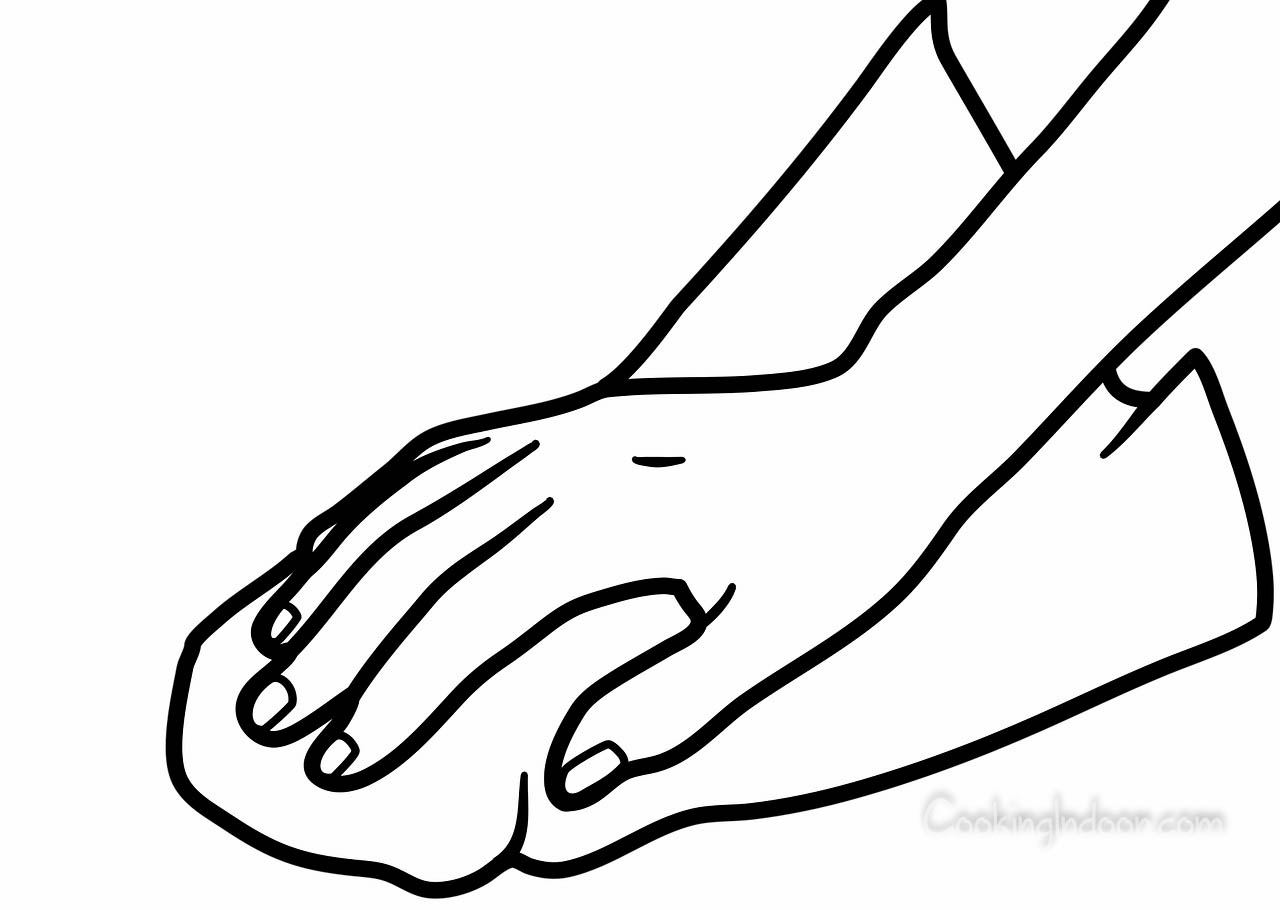
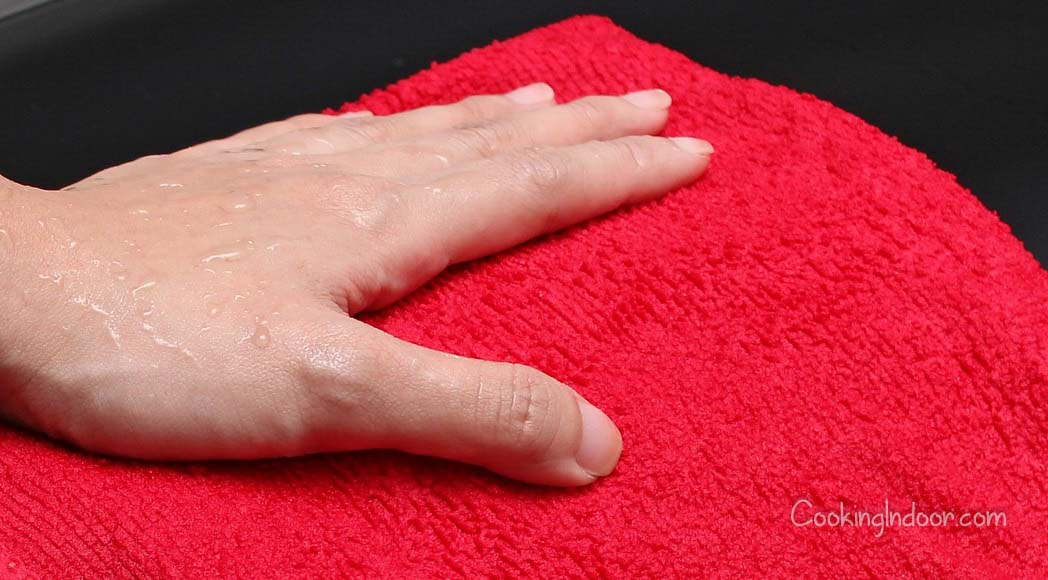
After cleaning the inside of your toaster, it is time to tackle the exterior surfaces. Depending on the material used to manufacture your toaster, you can use a disinfecting wipe to clean the surface. But if you prefer to play it safe, then simply wipe down the outside surface with a dish towel sprinkled with some gentle detergent.
This should be enough to get rid of any grease and other residues easily. In addition, ensure you pay special attention to your toaster’s knobs. They tend to get the most smudged after using the toaster for a long time.
If you’re using the best stainless steel toaster, you can also easily restore its shine by putting a splash of vinegar on your dry dishwashing towel and wiping all the metal areas of your appliance. But make sure your dishwashing towel is nonabrasive.
If you’re out of vinegar, you can get the same results using a polishing wipe created precisely for use on stainless steel surfaces.
Step 5: Prepare your toaster for use
Before reassembling your toaster oven, ensure that all components of the toaster are 100 percent dry then plug the appliance back in.
How to clean a toaster oven
Your toaster oven is just as essential as your regular toaster, so do not forget to clean it from time to time. The only downside is it will take a little more time to clean compared to a regular toaster.
Step 1: Remove the debris and crumbs from your toaster oven
Unplug your toaster oven, open its glass door, and let it cool down. Once it’s cool, hold it securely over your trash bin and tilt the open side toward the bin. Remember to tap it on the back twice or thrice in order to shake loose crumbs that may be lodged within the interior side of the appliance.
Step 2: Remove the pans and racks
The pans and racks inside your toaster oven should come out easily. Remove them, take them to the sink, and pour an all-purpose cleaner on them. Do the same to the removable pan in the bottom of the toaster oven whose work is collecting crumbs.
Step 3: Sponge down the parts
Use your dishwashing towel to get rid of any grime or charring that might be covering the pan or the racks. When you’re done, rinse them and place them inside your drying rack.
That said, the simplest solution that always works for me is dish soap, warm water, and vinegar. Apply the solution on the racks and pans then use a sponge or regular brush to scrub them. If you teach yourself to clean these parts every time you use the toaster oven, you’ll never have to worry about them becoming extremely dirty.
Step 4: Wipe the inside surfaces down using a mixture of vinegar, warm water, and dish soap.
Apply vinegar on your dish towel and use it to swipe the bottom and sides of your toaster oven’s inside. Ensure you do not wipe down or clean the heating elements (usually located at the top and bottom of a toaster oven) using your dishwashing towel.
Step 5: Leave the toaster oven to dry
While waiting for the removable pans and racks of your oven to dry, keep the glass door open for approximately ten minutes when you’re done cleaning the inside surfaces. This will allow the appliance to air dry.
Step 6: Clean the glass door
Create a solution that is equal parts warm water and vinegar. For instance, while cleaning my toaster oven, I usually mix three tablespoons of white distilled vinegar and three tablespoons of warm water.
Consequently, dampen your dishwashing towel using this mixture then use it to wipe down your toaster oven’s glass door.
Step 7: Clean the outside surfaces
Clean your toaster oven’s outside surfaces using the same steps you used to clean your regular toaster. But if your toaster oven has a plastic exterior, then clean it using a rag submerged in soapy water. And if it has a chrome exterior, then use a microfiber cloth.

Step 8: Rinse the glass door and the exteriors
The last step is rinsing your glass door and the exterior surfaces then letting them dry.
How often you should clean your regular toaster and toaster oven
It’s quite easy to ignore your toaster and oven when you are scrubbing down your kitchen. But always take a second and shake the toaster or dump out contents of the removable crumb tray over a trash can after each use.
This will ensure there aren’t any crumb buildups between your deep cleaning sessions. Failure to do this could result in the crumbs becoming caked on, which ultimately creates a lot more work for you in the long term.
In regard to deep cleaning, I recommend that you make it a habit to clean your masterpiece at least once a month (if the toaster is used every day) or when you realize its sporting a food spattered exterior and crummy interior.
Conclusion
Regularly deep cleaning your regular toaster and toaster oven will immensely extend their lives.
That said, after six to eight years, you will likely have to replace your appliance, depending on its usage frequency. If you find yourself scouring the market for a new toaster or oven, feel free to check out my extensive guides on the best toaster ovens or the best four-slice toasters.


